|
1. Getting Together
First things first, whenever completing a job around the house, it’s essential to have the right tools. Below is a barebones checklist of the most important items to have when mending your walls:
-
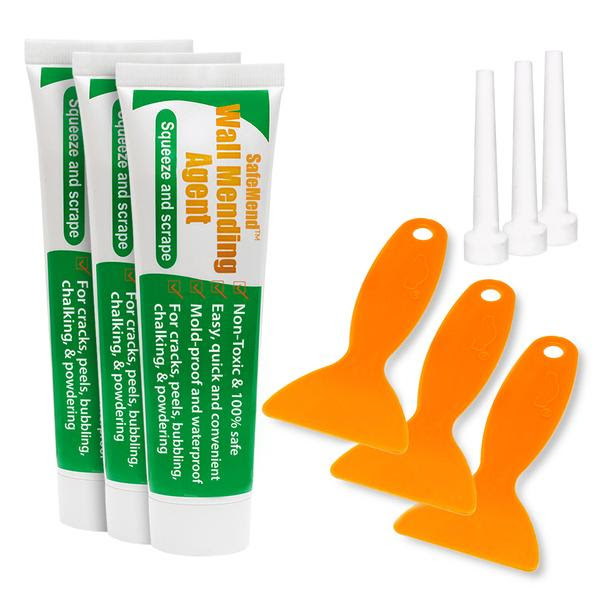
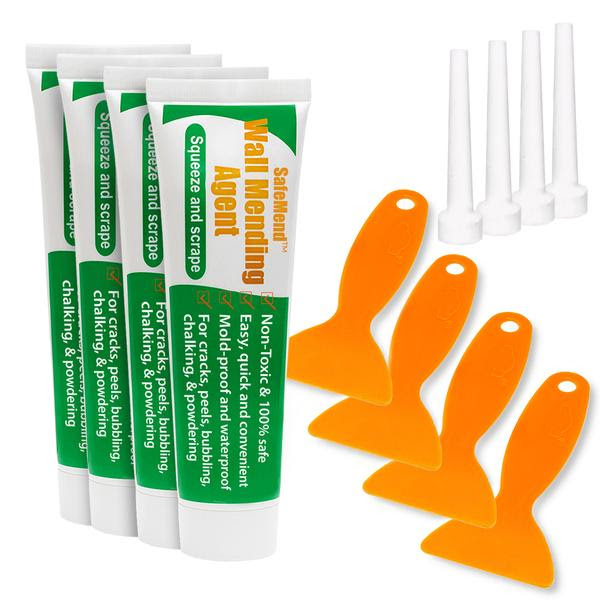
SafeMend or similar agent
- A Stanley Knife or “Boxcutter” knife
- Putty Knife
- Sandpaper
- A spare Dishcloth or similar
- Wall Patch
Once you have these items collected, it’s time to move one to your wall!
2. Pick Your Spot
Get started by grabbing your Stanley knife and sandpaper and removing the leftover pieces from your hole. Most holes that form result from an impact, making the edges of your whole uneven; smoothing these areas helps your mending agent create a smooth finish. Start by removing larger pieces with your knife before smoothing your boundaries with your sandpaper.
Note: Your sandpaper for this scenario does not need to have a heavy grout, so be sure to purchase smoother sandpaper to avoid creating additional damage to the wall.
3. Patching Up
Once you have your surface ready, grab hold of your wall patch and apply it to your wall. Generally speaking, your wall patch will have an adhesive side to make it easier to mount into your wall; peel off the cover for the adhesive side before installing, making sure your patch fits snugly inside your wall.
Note: Choosing the right-sized patch is crucial for this task; when selecting your patch at a hardware store, make sure you’ve measured the size of your hole beforehand to make sure your patch can fit inside.
4. Putty Down
With your patch installed and ready, it’s now time to grab your putty knife and start applying your mending agent! Start at the edges before moving slowly towards the center of your patch. Once you have even coverage of the hole you’re looking to fill, then start smoothing this over with your putty knife to create a clean finish before allowing it to dry somewhat.
5. Finishing Touches
With your patch installed and ready, it’s now time to grab your putty knife and start applying your mending agent! Start at the edges before moving slowly towards the center of your patch. Once you have even coverage of the hole you’re looking to fill, then start smoothing this over with your putty knife to create a clean finish before allowing it to dry somewhat.
|


 Live Chat
 support@safemend.com